How to Clean a Fan Assisted Oven
Cleaning a fan-assisted oven might seem daunting, but it’s an essential task for any home cook. Keeping your fan-assisted oven clean not only ensures it operates efficiently but also contributes to better-tasting meals. In this guide, we’ll walk you through the process of cleaning your fan-assisted oven, breaking it down into simple, manageable steps. From gathering the right supplies to tackling tough stains, we’ll help you make your oven sparkle and function at its best. Whether you’re dealing with built-up grease or just routine maintenance, our easy-to-follow tips will make the task less overwhelming and more effective.
What is a Fan-Assisted Oven?
A fan-assisted oven, commonly referred to as a convection oven, is a modern type of oven that stands out due to its use of a fan to circulate hot air around the interior. This design ensures a uniform temperature distribution throughout the oven cavity. Unlike traditional ovens, where heat can be unevenly distributed, resulting in hot spots and uneven cooking, the fan in a fan-assisted oven circulates the air to cover all areas equally. This leads to more consistent and even cooking results.
Additionally, because the hot air is moving, food often cooks faster in a fan-assisted oven, making it a time-efficient choice for many recipes. Another significant benefit is its energy efficiency; the uniform heat distribution allows for cooking at lower temperatures and often in shorter times compared to conventional ovens, leading to energy savings. Overall, fan-assisted ovens have become a popular choice for those seeking efficiency and uniform cooking results in their kitchen endeavors.
Also Read: How to Clean Oven Racks With Dishwasher Tablet?
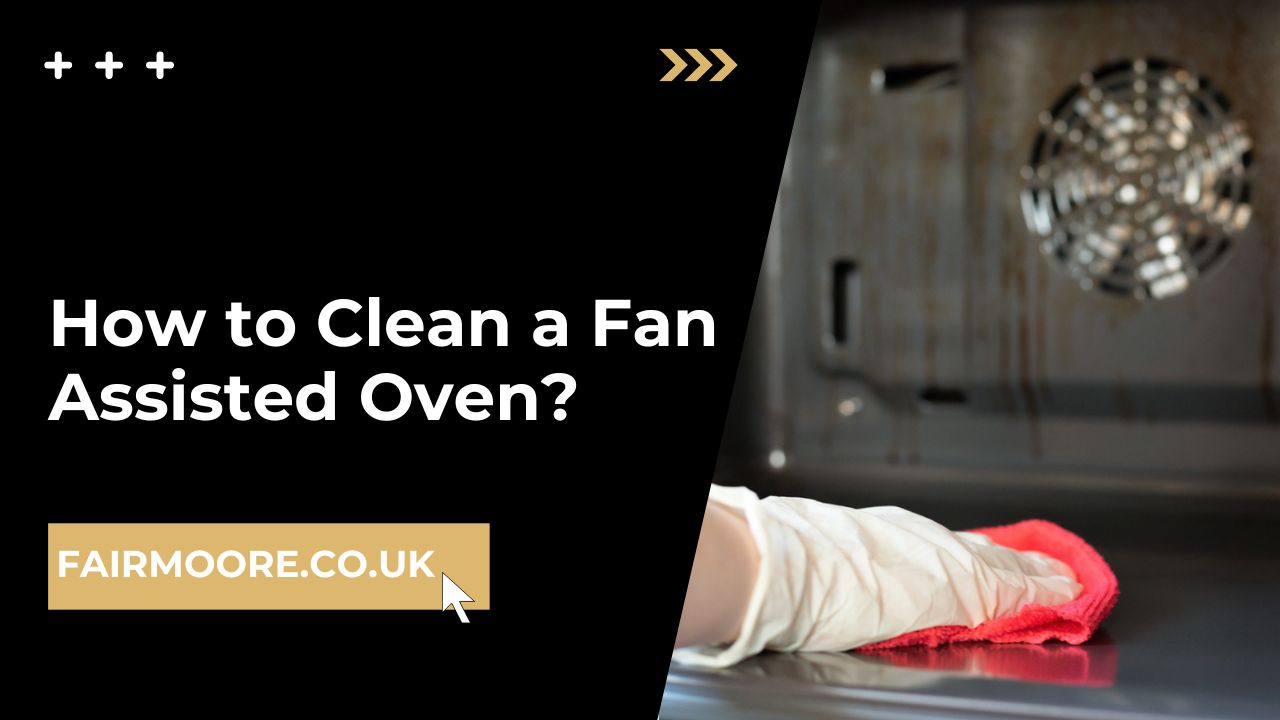
How to Clean a Fan Assisted Oven?

Cleaning a fan-assisted oven is a straightforward process that can significantly enhance its efficiency and longevity. Here’s a step-by-step guide to effectively clean your fan-assisted oven:
1. Preparation
Safety First: Ensure the oven is turned off and cool to the touch. Unplug it from the power source for added safety.
Gather Supplies: You’ll need a non-abrasive oven cleaner, baking soda, vinegar, a spray bottle, a scrub brush or sponge, and soft cloths or paper towels.
2. Remove Oven Racks and Accessories
Take out any racks, trays, or other removable parts. These can be cleaned separately in soapy water or using a specialized cleaning solution.
3. Make a Cleaning Solution
If you prefer a natural cleaner, mix baking soda with water to create a paste, or use a commercial oven cleaner following the manufacturer’s instructions.
4. Apply the Cleaner
Spread the cleaning solution inside the oven, focusing on areas with built-up grease or food residue. Be cautious around heating elements and the fan; avoid spraying or applying cleaner directly onto them.
5. Let the Cleaner Work
Allow the cleaner to sit for the time recommended by the product instructions, usually a few hours or overnight for tough grime.
6. Clean the Fan
Gently wipe around the fan using a soft cloth. Do not disassemble or directly interfere with the fan mechanism.
7. Wipe Down the Interior
After the cleaner has set, use a damp cloth or sponge to wipe down the inside of the oven. Ensure all cleaner residue is removed.
8. Clean the Oven Door
Pay special attention to the glass part of the oven door. Use a mixture of vinegar and water in a spray bottle for a streak-free shine.
9. Rinse and Dry
Rinse all surfaces with a damp cloth to remove any remaining cleaning solution and then dry with a towel.
10. Clean Exterior Surfaces
Wipe down the external surfaces, including the control panel and handles, with a gentle cleaner.
11. Reassemble the Oven
Put back all racks and accessories once they are clean and dry.
12. Final Check
Plug the oven back in and turn it on to a low temperature for a short period to remove any lingering odors from the cleaning products.
Regular cleaning of your fan-assisted oven not only maintains its appearance but also ensures it operates efficiently and safely. By following these steps, you can keep your oven in top condition.
Regular maintenance of a fan-assisted oven

Regular maintenance of a fan-assisted oven is crucial for its longevity, efficiency, and performance. Here are some key steps to include in your routine:
Regular Wiping Down: After each use, once the oven cools down, wipe the interior with a damp cloth. This prevents the build-up of grease and food particles.
Monthly Deep Cleaning: Schedule a thorough cleaning once a month. This involves using an oven cleaner or a homemade cleaning solution to tackle tough stains and built-up grime.
Clean Oven Racks Regularly: Remove and clean the oven racks separately. Soak them in a soapy water solution and scrub off any residue. Rinse and dry them before placing them back in the oven.
Inspect and Clean the Oven Door: Regularly check the oven door for any food spills or grease. Pay special attention to the glass window; use a vinegar and water solution for a streak-free clean.
Check the Door Seal: Inspect the door seal (gasket) for any wear or damage. A broken seal can lead to heat loss and inefficient cooking. Clean it gently to prevent damage.
Be Mindful of the Fan Area: While deep cleaning, carefully clean around the fan. Avoid directly interfering with the fan mechanism. A soft brush or cloth can be used to remove dust or debris.
Keep the Exterior Clean: Wipe down the exterior and control panel of the oven. Use a gentle cleaner to avoid erasing labels or damaging buttons.
Avoid Foil Liners: Don’t use aluminum foil to line the bottom of your oven, as it can interfere with heat distribution and damage the oven’s interior.
Use Oven Liners or Trays: To minimize spills, consider using oven liners or trays. They catch spills and are easier to clean than the oven floor.
Regularly Check and Replace Bulbs: If your oven has an interior light, check it regularly and replace it when necessary to ensure proper visibility while cooking.
Monitor Oven Performance: Pay attention to how your oven performs. If it’s taking longer to cook food or not reaching the desired temperature, it may indicate a need for maintenance or repair.
By adhering to these regular maintenance steps, you can ensure your fan-assisted oven remains in good working condition, providing you with reliable service for many years.
Conclusion:
In conclusion, regular maintenance of your fan-assisted oven is not just about keeping it clean; it’s essential for its efficiency and longevity. Simple habits like wiping it down after use, monthly deep cleaning, and paying attention to parts like racks, door seals, and the fan area can make a significant difference. This routine not only ensures your oven performs well but also helps in creating delicious meals in a safe and clean cooking environment. Remember, a well-maintained oven is key to a happy and efficient kitchen.


Leave a reply